Enemies
Enemies roam the levels. You must beat all enemies in a room to proceed. Enemies attack to the beat of the music.
Contents
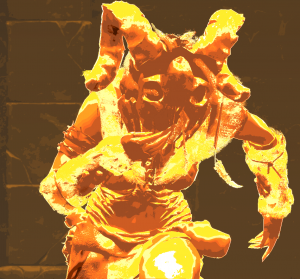
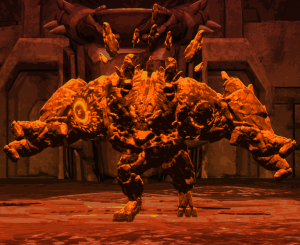
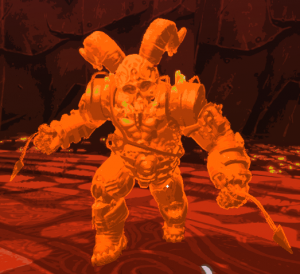
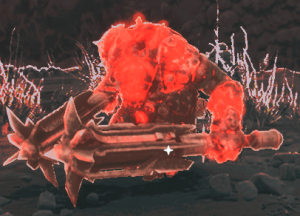
Regular enemies
Enemy health displayed as a comparison system: e.g. baby bat takes one pistol shot to kill so it has 1 HP, worm takes 2 shots so 2 HP.
In the Weapons page, weapons will show how much damage they do, with the regular pistol dealing 1 damage.
| Image | Name | Health | Attacks | Comments |
|---|---|---|---|---|
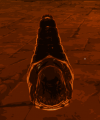 |
Worm | 2 HP
Hellish: 3 HP |
* Bite: 25 HP | |
 |
Maggot | 2 HP
Hellish: 3 HP |
|
Upon dying, spawns 4-6 Flies |
 |
Spider Hatchling | 1 HP |
|
|
 |
Spider | 4 HP
Hellish: 6 HP |
|
It's Abdomen is a weak spot. |
 |
Giant Spider | 6 HP
Hellish: 9 HP |
|
Yellow crystal on back is weak spot that takes triple damage. |
 |
Hexapod (look it up) | 4 HP
Hellish: 6 HP |
|
|
 |
Hexapod Portal | 4 HP |
|
Spawns Hexapods until destroyed or until it runs out.
|
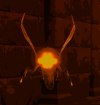 |
Fly | 4 HP
Hellish: 6 HP |
|
Flyer. Can spawn from slot machines. |
| Fast Fly | 1 HP |
|
Flyer. | |
 |
Mother of Flies | 5 HP
Hellish: 8 HP |
|
Flyer. On death, spawns 4 fast flies |
 |
Hive | 2 HP
Hellish: 3 HP |
|
Spawns flies until destroyed |
 |
Baby Bat | 1 HP |
|
|
| Big Bat | 15-18 HP
Hellish: 24 HP |
|
Variable health. Appears as a miniboss. | |
 |
Foul Bat | 1 HP |
|
|
 |
Mara | 12 HP
Hellish: 18 HP |
|
Starts walking with 6 legs at ≤ 50% health and at ≤ 33% health on Hellish (6 health remaining)
Will shoot towards the player's location even if it does not have a line of sight |
 |
Starkaðr Wraith | 4 HP
Hellish: 6 HP |
|
|
 |
Skel | 8 HP
Hellish: 12 HP |
|
Damage to the Head is blocked Skel Fly uses it's shield head to hide behind |
 |
Skel Fly | 1 HP |
|
When Skel dies, Skel Fly will move to another vacant Skel to hide behind. Only hides behind a Skel when looked at by the player, and wont shoot while hiding If the player isn't looking at a Skel Fly, it will move out Skel's cover and shoot very frequently, if no Skels are alive it will not find any other cover and shoot at the player regardless of being looked at |
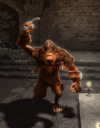 |
Ratr | 2 HP
Hellish: 3 HP |
|
|
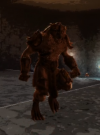 |
Vargr | 14 HP
Hellish: 22 HP |
|
|
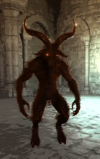 |
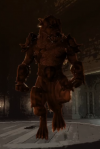
Corrupted Heiðrún | 20 HP
Hellish: 30 HP |
|
Appears as a miniboss and randomly spawn in Nidhogg's first round. |
 |
Hero Vargr | 44 HP
Hellish: 66 HP |
|
Appears as a hero miniboss. |
 |
Scorpion Hatchling | 3 HP
Hellish: 5 HP |
|
|
 |
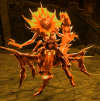
Scorpion | 4 HP
Hellish: 6 HP |
|
The sting takes double damage. |
 |
Scorpion Queen | 8 HP
Hellish: 12 HP |
|
|
 |
Elemental (Dragon's Ghost) | 1 HP |
|
Flying suicider. Summoned by Draugr, Ymir, and Beating Hearts. Can also appear naturally. |
 |
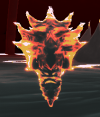
Sired Skull | 4 HP
Hellish: 6 HP |
|
Flying suicider. Summoned by Vétt. Can go through walls. (AKA big cow floating skull) |
 |
Dragon's Spirit | 1 HP |
|
Flying suicider. Summoned by Nidhogg. |
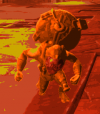 |
Flightless Imp | 6 HP |
|
Suicider. After taking damage, it will begin to run towards the player at a faster pace.
|
 |
Flying Imp | 2 HP |
|
Drops bomb when killed. |
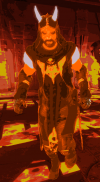 |
Mage | 20 HP |
|
Can teleport around, lay mines periodically, and be killed in 1 shot with a headshot
|
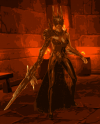 |
Ice Witch | 20 HP
Hellish: 30 HP |
|
|
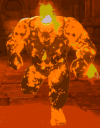 |
Igneous Red | 10 HP
Hellish: 15 HP |
|
Appears as a miniboss. Its head is a weak spot. |
 |
Kraken | 40 HP
Hellish: 60 HP |
|
Appears as a miniboss. Can be pushed by |
 |
Krakling | 2 HP
Hellish: 3 HP |
|
Flyer. Summoned by Kraken. Can also appear naturally. |
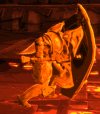 |
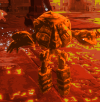
Guardian | 2 HP
Hellish: 3 HP |
|
Shoots 4 projectiles and then stays still for a while. Can only receive physical damage on his back, or magic damage from any direction. |
 |
Clockwork Soul | 8 HP
Hellish: 12 HP |
|
|
 |
Fire Eater | 10 HP |
|
Screams loudly before firing the fireballs |
 |
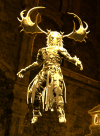
Blade | 4 HP
Hellish: 6 HP |
|
Becomes invulnerable for a few seconds when got hit. Head takes double damage. |
 |
Wild Mage | 48 HP
Hellish: 72 HP |
|
Appears as a miniboss |
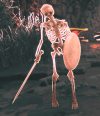 |
Synchronised Skeleton | 4 HP |
|
|
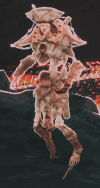 |
Skeleton Mage | 6 HP |
|
Flyer. Can spawn from slot machines. |
 |
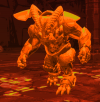
Reaper | 28 HP
Hellish: 42 HP |
|
Can appear in challenge rooms early on. |
 |
Mechanised Monstrosity | 3 HP |
|
Charges up then sends a barrage at the player. Only weakspot is the back. (name originally incorrect) |
 |
Foul Wretch | 6 HP |
|
Fires 1 bolt at range, but many arcing bolts if player is very close.
Will fall to the floor at ≤ 50% of it's health and will only attack with many arcing bolts while grounded. |
 |
Jötunn Guard | 6 HP |
|
Can be damaged briefly when lifting their shield before throwing, or with a well aimed shot at their feet as they hold their shield. Their shield throw cannot be strafed from any distance, only dodged.
|
 |
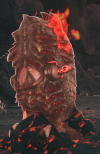
Firebreather | 12 HP |
|
Shoots two burst of three fireballs then pauses. |
 |
Beating Heart | 10 HP |
|
Spawns elementals until destroyed.
|
 |
Phoenix | 8 HP |
|
Flyer. |
 |
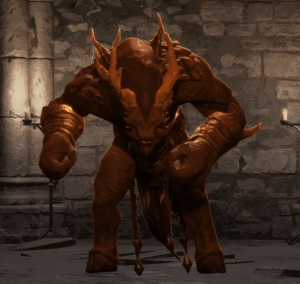
Minotaur | 67-68 HP |
|
Appears as a miniboss |
 |
Black Knight | 96 HP |
|
Appears as a miniboss. Sword slashes create air blades which penetrate walls (and you). |
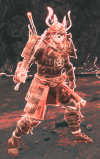 |
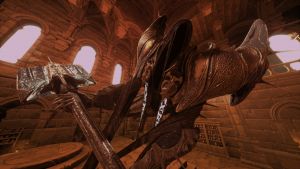
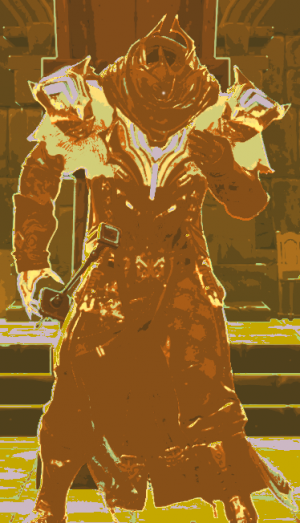
Servant of Darkness | 96 HP |
|
Appears as a miniboss. (AKA samurai) |
 |
Cutthroat | 2 HP
Hellish: 3 HP |
|
Appears in the special room of the Castle level, and within Helheim I.
Will die after enough time has elapsed (roughly 1 minute and 20 seconds) |
Bosses
Every level has a boss guarding the portal to the next level. All bosses except Nidhogg can spawn with a modifier.
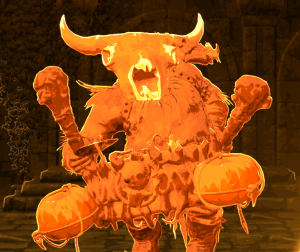
Draugr
Health: 60 HP (Hellish: 90 HP) Zone: Asgard 1
Four slow projectiles.
- It's pretty easy to avoid by walking perpendicular to Draugr.
Eight fast projectiles
- A projectile is fired each half-beat.
- Keep strafing in the same direction.
Floor attack. Unlike other floor attacks it is a projectile, and has a limited area of effect.
- Jump to avoid. Dashing out of the area of effect can also work. Hiding behind a pillar is another alternative, as the attack is a projectile.
Charges and knocks the player back, then summons 3 Dragon's Ghosts.
- The knockback doesn't deal damage but it can knock you into a Dragon's Ghost from a previous attack.
- Be specially careful if the boss has the burning modifier as the knockback could hurt you.
- A Dragon's Ghost is summoned each beat.
- Dispatch the Dragon's Ghosts as soon as possible to be able to focus on the boss.
Four area attacks.
- The first attack will be marked. The next 3 attacks will be performed every other beat and will not be marked.
- Attacks alternate directions and are always in the same order. Strafe left, right, left, right to avoid the whole combo.
- Strafing in the correct direction will dodge the attack, dashing is not required.
Fafnir
Health: 56 HP (Hellish: 84 HP) Zone: Asgard Crypts
Eight fast projectiles with a crosshair dodge warning
- Strafe/Dodge to the side to avoid the projectile.
Making area with chess tile patterns, while dancing
- Go into the non-white tile to avoid damage. Tile damage extends all the way to the roof.
Damaging ripple that increases in size every full-beat once spawned
- Jump over or move away from the ripple until it dissipates.
Ymir
Health: 70 HP ±2 Zone: Asgard 2
Fires a homing projectile.
- Dodge or strafe sideways to avoid.
Channels a homing high damaging beam.
- Hide behind a pillar to avoid.
- Deals increased damage the longer you touch the beam.
Summon 5 Dragon's Ghosts.
- Telegraphed by kneeling.
- A Dragon's Ghost is summoned each beat. Dragon's Ghosts only start moving 1 beat after spawning.
- Dispatch the Dragon's Ghosts as soon as possible to be able to focus on the boss.
- The Dragon's Ghosts spawn counterclockwise at each beat, making it easy to destroy them instantly if you rotate accordingly around the boss.
- Some Dragon's Ghosts may not spawn if their spawn location is occupied by terrain (happens frequently when the boss uses this attack near walls or pillars).
Vétt
Health: 73 HP ±2 Zone: Vanaheim 1
Reaches for his back and then flings a spinning axe.
- Dodge or strafe sideways.
Quickly throws a spinning axe and then fires a 8 projectile barrage in the cardinal directions around him.
- Dodge, strafe sideways, (or double-jump for non-giant variants).
Transforms into a flaming ball of fire and charges the player.
- Dodge or strafe sideways.
Stops moving, readies his clubs, and then claps them together spawning a damaging orb. It moves linearly while slightly expanding before eventually phasing through the arena
- Dodge, or strafe sideways
Stops moving, and readies his clubs which glow before attacking with a flurry of axes. These travel in a quick spread in the direction he is facing
- Dodge, or strafe sideways
Stops moving and then slams the ground, causing a damaging ripple that increases in size every full-beat once spawned (eventually dissipates)
- Jump over or move away from the ripple until it dissipates
Stops moving to prepare a circle (safe-zone) and then attacks twice.
- Stand inside the circle in front of Vétt to avoid taking damage.
Gullveig
Health: 63 HP ±2 Zone: Vanaheim 2
Individually fires 5 daggers towards the player on every full-beat.
- Dodge, strafe sideways, or jump
Fires 4 daggers towards the player at once that travel in a spread.
- Dodge, strafe sideways, or jump
Attacks the ground causing it to damage the player.
- Jump when the button prompt reaches the center of the screen (crosshair)
Kneels and initiates an aerial attack.
- Stay on the ground or fly above with Odr /
 Angelic Boots /
  Spacewalker
Places a dagger in front of her which spawns a cross that can move clockwise or counter-clockwise around the arena 4 times before dissipating.
- Recognize which direction the cross starts to slowly rotate towards and react accordingly.
- The player can choose to either move in the same direction of the cross or double-jump over it to avoid the attack, this however leaves the player vulnerable to Gullveig's aerial attack.
Alvis
Health: 80 HP. Zone: Svartalfheim 1
Rapidly throws a small rock towards the player.
- Dodge, or strafe sideways
Grabs a huge rock from the ground and throws it towards the player.
- If the player is close to the point of impact, he will be pushed away from it.
- Dodge, or strafe sideways.
Crouches, then fires 8 fireballs round him.
- Dodge, strafe sideways, (or double jump for non-giant variants).
Smashes his fists onto the ground, creating 2 homing shockwaves.
- The shockwaves can't be destroyed, but only last a limited time.
Growls, creating an expanding damaging sphere.
- Before growling he stands on his feet with his hands on his head.
- The sphere only damages the player when expanding, and becomes safe every time it stops.
- Pass through the sphere when it stops; every time it stops it becomes dark red and an audio clue is played.
- Entering the sphere too early isn't advised, as you'll have limited space to dodge other attacks.
Jumps in the air smashing his fists onto the ground, creating a big explosion.
- Keeps moving forwards even after jumping, creating an explosion around the impact.
- This attack is really slow and only impacts 3 beats after starting. Be sure to keep your distance.
Stands back and inhales, then spits a barrage of fireballs in a cone in front of him.
- Doesn't track the player, but only aims where the player was once the attack was charged.
- Strafe around the boss, or dodge sideways if you are too far.
Mistcalf
Health: 130 HP. Zone: Svartalfheim 2
Throws a single projectile towards the player.
- Dodge, jump, or strafe sideways
Launches three large, semicircle slashes at the player one at a time on each beat, at varying angles.
- The first and third slash are aimed at the right of the player while the second targets the player directly.
- This attack can be avoided by strafing left and jumping over the second slash.
Thrusts his whips into the ground, one on each beat, and performs a ground attack.
- Jump when the dodge prompt reaches the crosshair to avoid taking damage.
Hits the ground that creates a straight line that lingers on the ground for a short time.
- Avoid the line, as touching it will do damage.
Mistcalf pulls the player toward itself. Does no damage.
- Be careful not to be pulled into the damaging line.
Charges up for three half beats and releases a flurry of projectiles towards the player.
- Try to get move away from the direction Mistcalf is facing to be out of the line of fire.
Transforms into a flaming ball of fire and then dashes at the player
- Three jump prompts (untied to the beat) and a dodge prompt (tied to the beat) are displayed to the player as Mistcalf initiates his charge.
- If the player jumps and dodges when these prompts reach the crosshair Mistcalf will stop his charge, otherwise he will continue to charge for a short time.
Surt
Health: 150 HP Zone: Helheim 1
First Phase:
Hits clubs together, creating an expanding hemisphere that will damage the player if touched.
- Strafe around to the open side of the hemisphere.
Hits the ground, creating a damaging line across the ground.
- Jump over the line if you must cross it.
Charges the player with a fiery outline and swings clubs at the end of charge, then swings again one beat after.
- Strafe/Dodge to the side to avoid the charge.
Second Phase:
Once taken down to 50% HP, Surt with grow and lose the clubs. After this point Surt will throw quick projectiles at the player on every beat.
- Strafe and dodge to avoid the projectiles.
Hits hands together to create an expanding hemisphere.
- Get to the open side of the hemisphere to avoid damage.
Spawns a fireball projectile from their mouth
- The fireball slowly tracks the player around the arena and can be avoided by strafing / dodging
Nidhogg
Health: 200 HP. Zone: Helheim 2
The final boss Nidhogg will only aggro the player after three rounds of fights which can be triggered via the lever on the ground, similar to a challenge room.
- First round: Draugr + 2x Skeleton Mage
- Second round: Ymir + 2x Ice Witch
- Third round: Jötunn Guard + 2x Firebreather
- Final round: Nidhogg
First Phase:
Launches a fast fireball at the player with a crosshair dodge warning.
- Dodge to avoid damage. Strafing will not work no matter the distance.
Creates and expanding sphere that grows in size every other beat.
- Move through the sphere when stationary.
Launches 6 projectiles on half beats at player
- Strafe/Dodge/Jump out of the way
Second Phase: Nidhogg lands on the ground and faces the player
Spawns four Dragon's Spirit in quick succession.
- Quickly dispatch them to focus on Nidhogg.
Nidhogg's Tail pokes forward and creates an expanding hemisphere
- Move around to the open side to avoid damage.
Launches six sets of three projectiles on half beats at the player.
- Strafe/Jump out of the way.
Launches a fireball at the player with a crosshair dodge warning.
- Dodge to avoid damage. Strafing will not work no matter the distance.
